Installation
Stock Step pads are easily installed with their built-in chain system. They can be removed at any time for water line or water tank repairs.

Prep
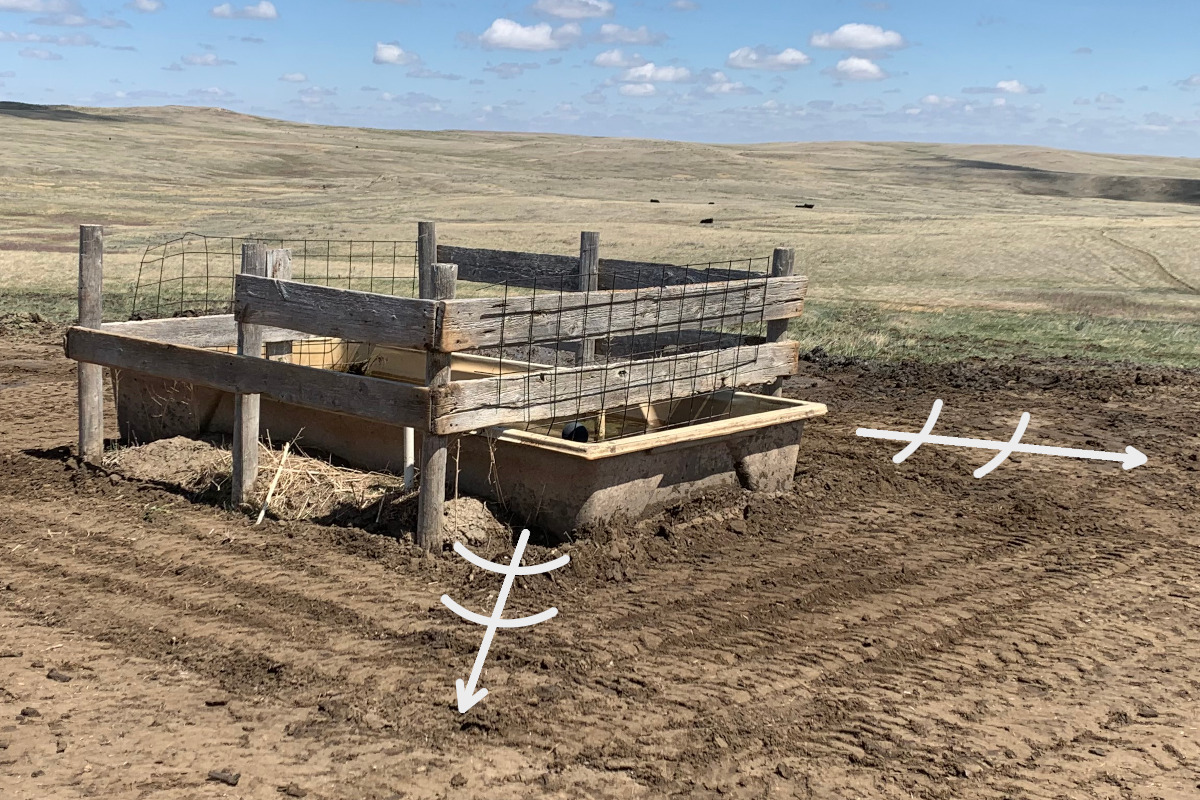
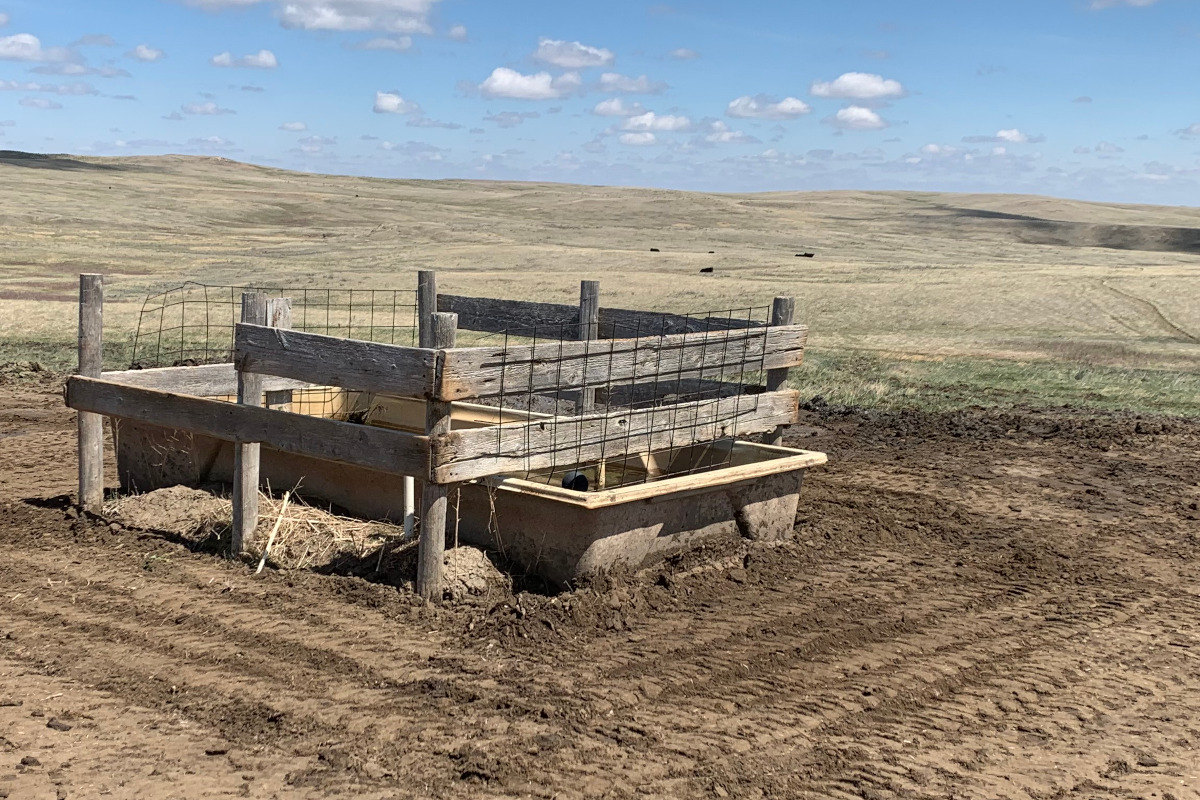
Clean out mudhole of mud, water, and slop. Scrape down berm and fill in mud hole, packing as you go. We use a skid steer to pack, driving back and forth with a scoop of dirt (for added weight), careful not to hit the tank.

Drainage
Create drainage spot, preferably on the low side of tank. We use a skid steer to dig a shallow ditch. This is to allow the majority of rain water or, if the float breaks, overflowing water to drain away from the tank and the Stock Step pad.

Pack
Pack dirt level with the bottom of the tank. Spread a layer of loose dirt or gravel on top of the packed dirt, approximately 2 inches is sufficient. Leave this dirt unpacked.

Install
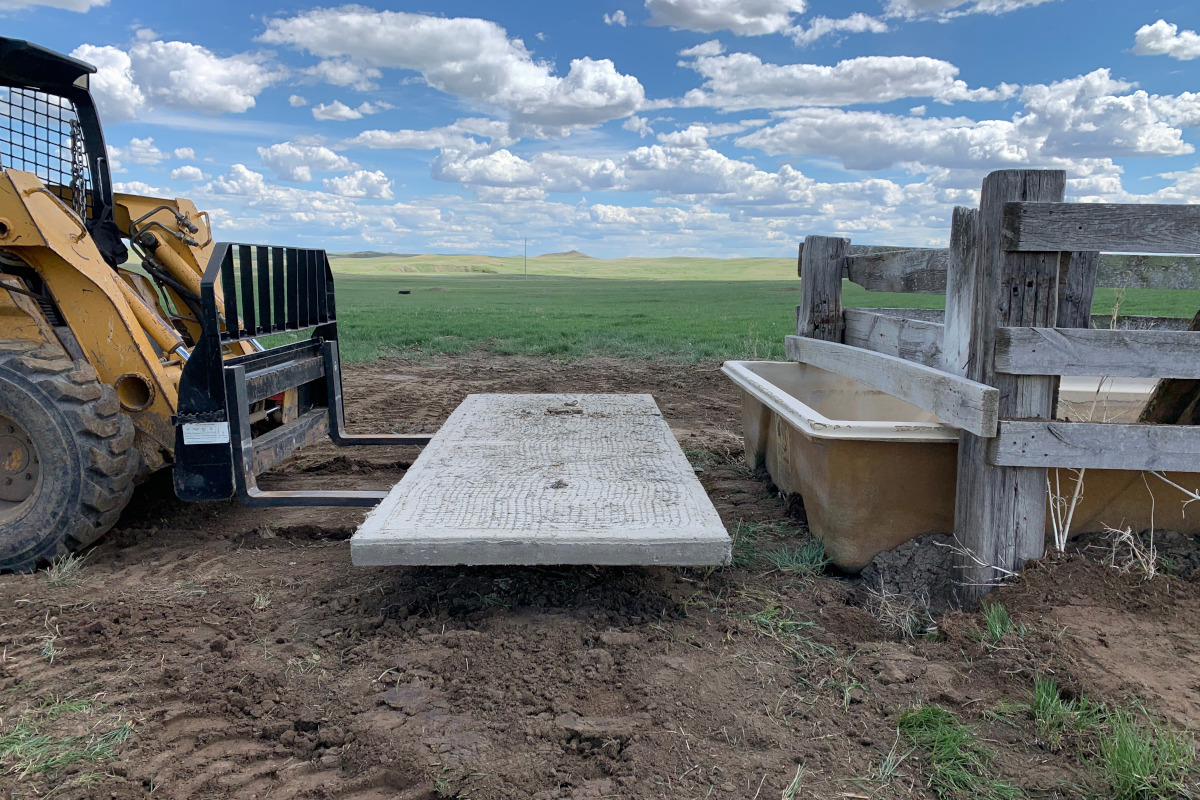
Set into place (utilizing the built-in chain system) with a loader and chains, pallet forks, the bale bed on your pickup, or a crane. We recommend filling in any large gaps between the pad and your waterer.

Take Note!!
Throughout this process it is very important that you avoid hitting your water tank. The Stock Step is a concrete product that has been designed to withstand use and transport; however, if mishandled, it can crack. Because of the internal reinforcement, a crack will not affect the function of the Stock Step; it will still be fully functional.


